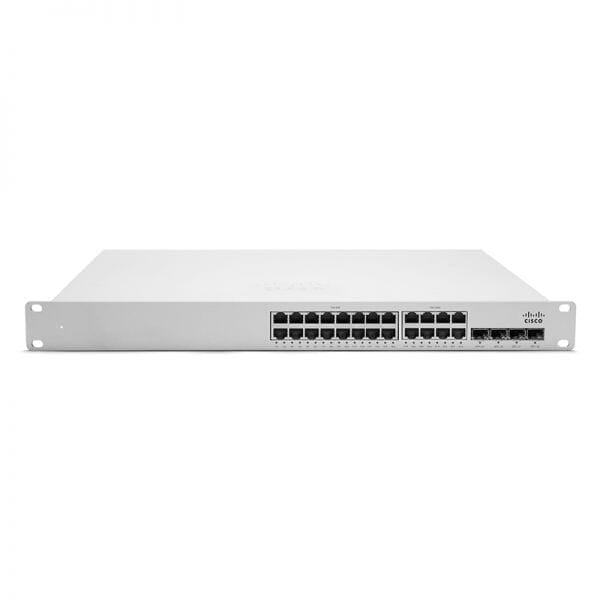


MS350-24X-HW
SAR21,000.00
Out of stock
Tags:
MS350-24X-HW is the Meraki MS350-24 L3 Stacking Cloud-Managed 24x GigE mGig UPoE Switch. The Cisco Meraki MS350 series switches provide reliable and high bandwidth access switching ideal for deploying in campus networks. With high speed stacking capabilities and 10G SFP+ uplinks built in on every model, redundancy and performance are guaranteed. This family also supports options for multigigabit, UPoE, redundant, field-replaceable power supplies for mission critical networks.
Product Details
Features
|
|
Configuration
The basic initial configuration of the MS350 is just as simple as any other model of MS switch. The links below provide additional information and instructions relating to each step in getting the device setup and configured for the first time.
- Claim the device to an Organization on the Meraki Dashboard
- If a Dashboard Organization does not yet exist, Create one
- Add the device to a Dashboard Network
- If a Network does not yet exist, Create one first
- Physically connect the device to the local network
- Connect one of the RJ45 ports to existing infrastructure to provide a temporary uplink
- Power on the device and let it check in to the Dashboard
- If necessary, configure a Static IP through the Local Status Page to allow it to communicate with the Meraki Dashboard.
- Allow the device to complete check-in and perform any initial firmware upgrades
- Finish configuring the device from the Meraki Dashboard
